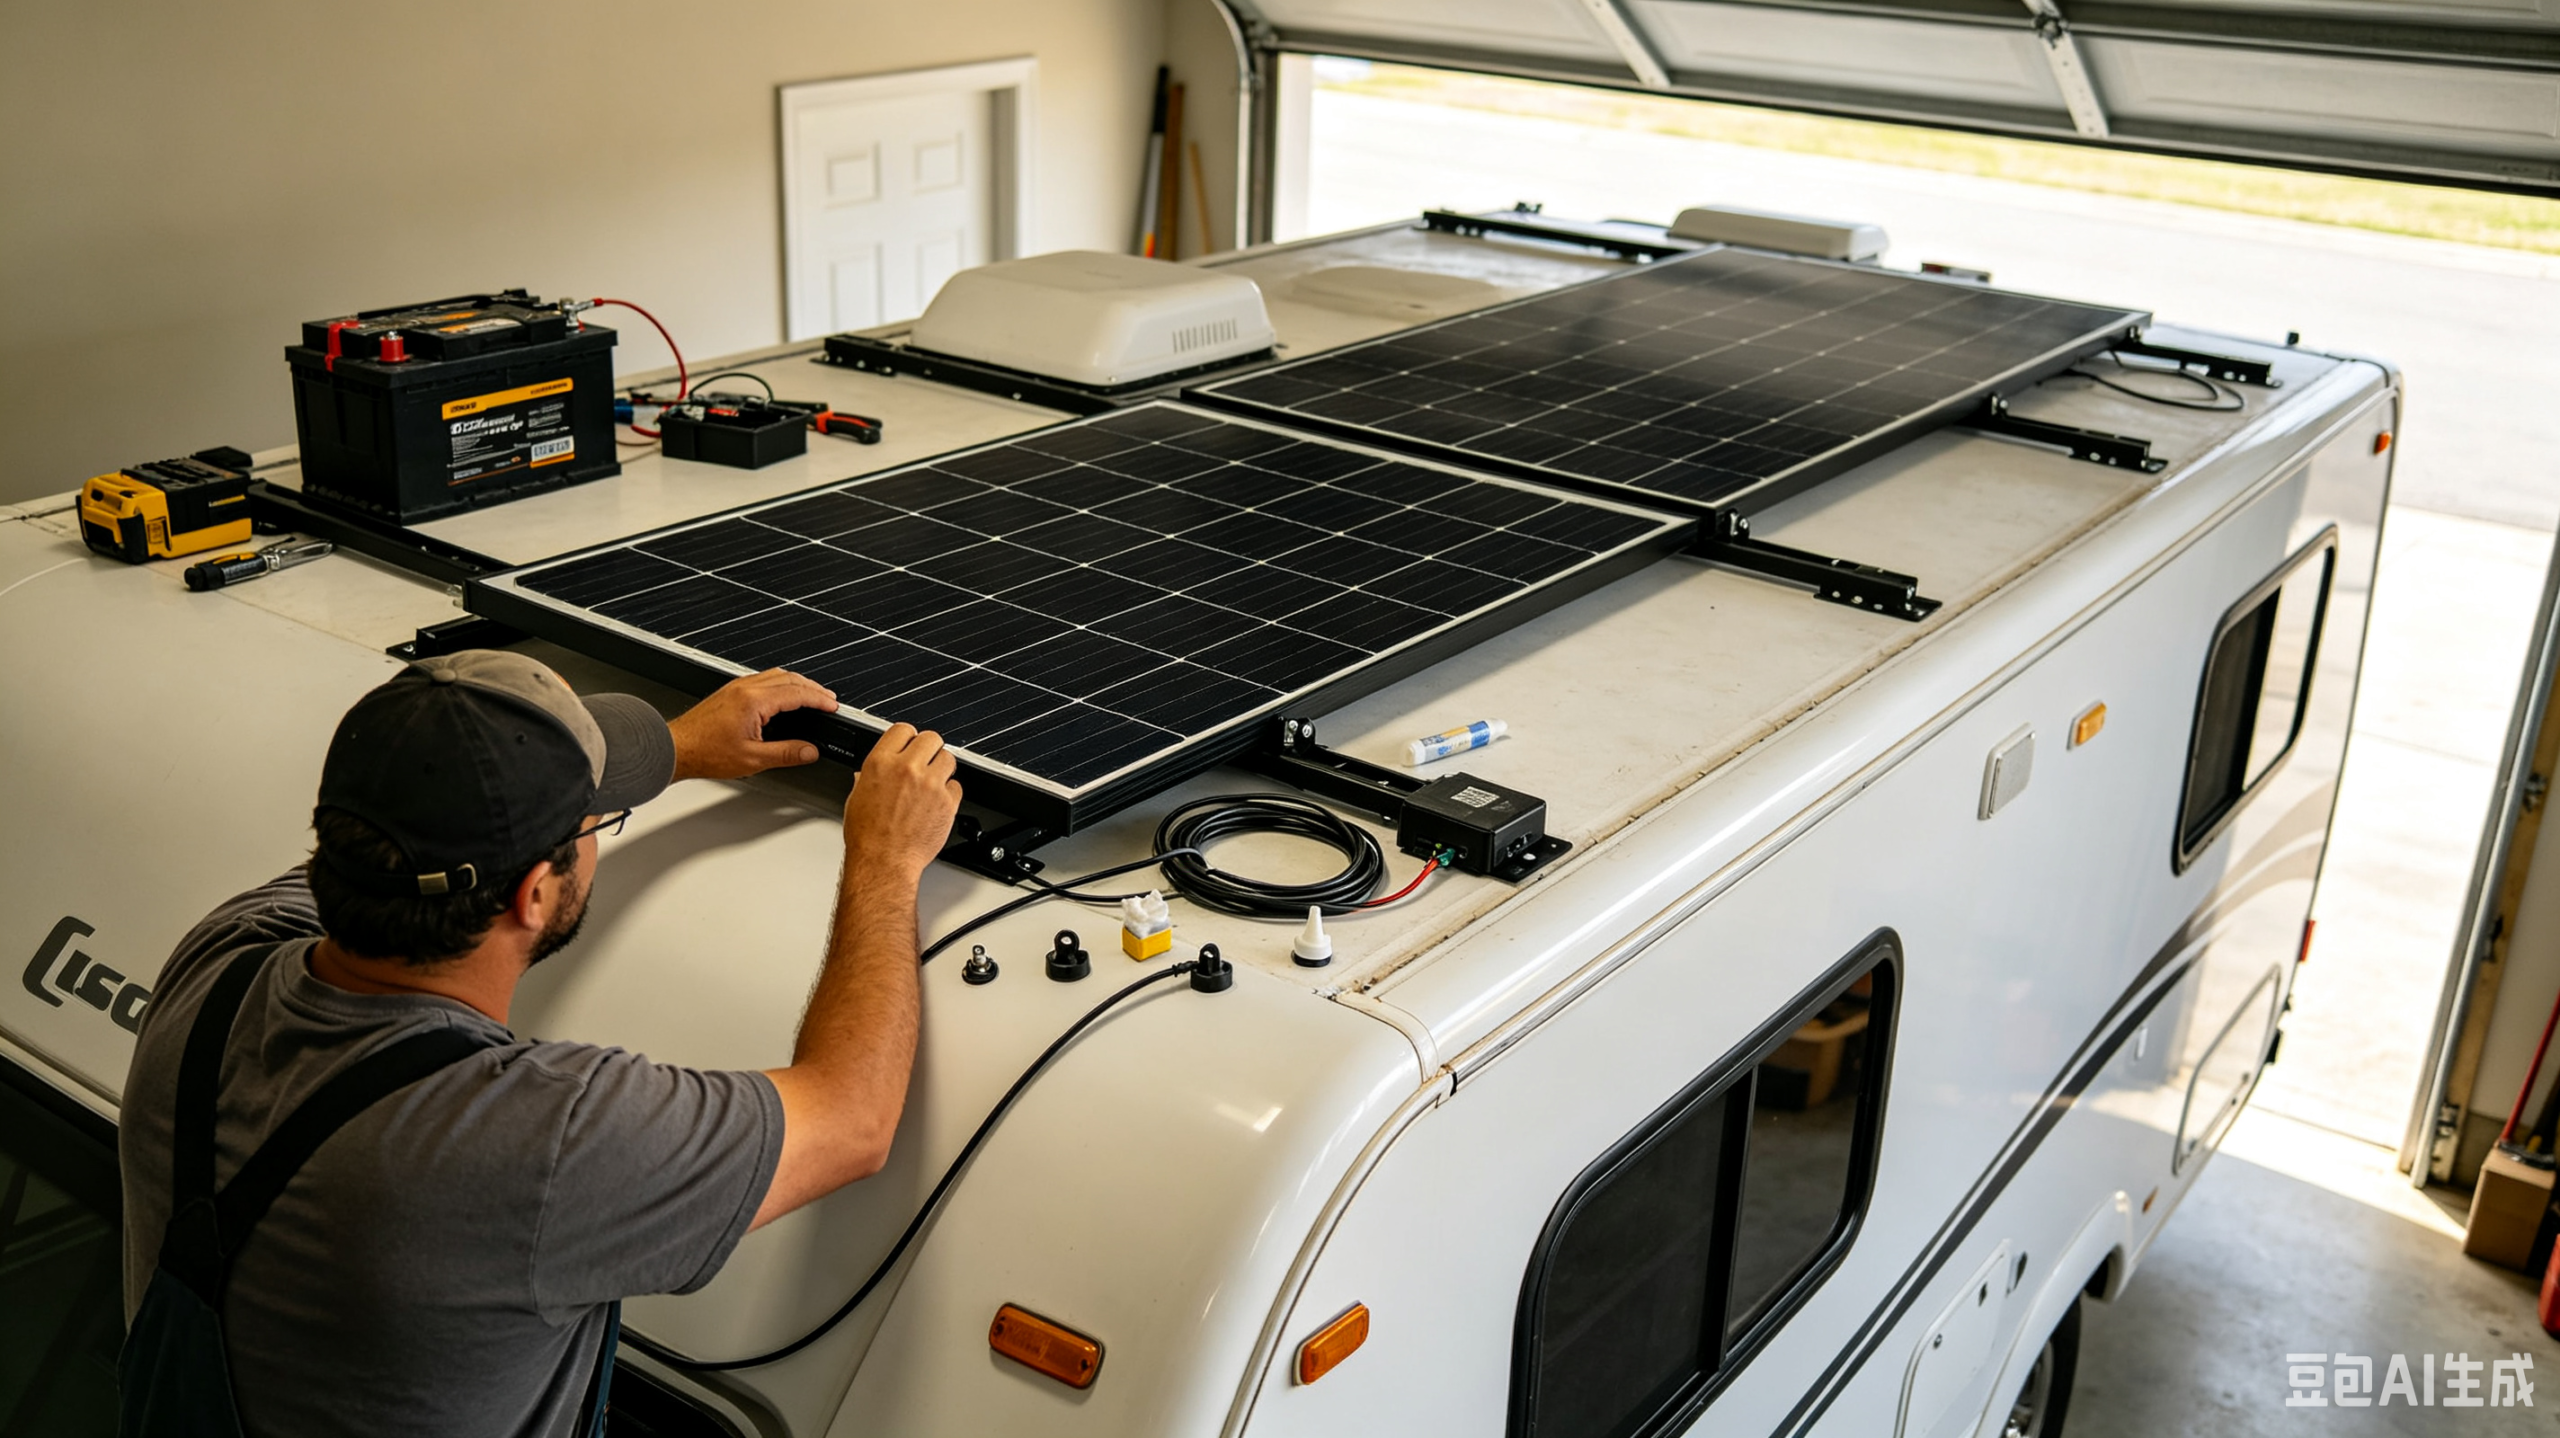
TL;DR: Most RVs use 500-1500Wh per day, so a 200-400W panel setup handles it. Build order: solar panels → MPPT charge controller (30-40A) → lithium battery (100Ah+ gives about 1200Wh) → a 1000-2000W pure sine wave inverter. Use correct wire gauges and fuses throughout for safe operation.
Living or traveling in an RV or camper van offers amazing freedom, and solar power is the perfect match for this lifestyle. Solar panels keep your onboard batteries topped up steadily, with no loud generator noise, no fuel costs, and no tedious generator upkeep. It makes off-grid travel far more convenient and comfortable.
If you want to build a simple, reliable solar setup for your RV or van, follow this step-by-step guide.
Step 1: Figure Out Your Daily Power Needs
Before buying any parts, take a moment to calculate your daily electricity consumption. Write down every device you’ll regularly use in your vehicle, including interior lights, phone and laptop chargers, water pumps, mini fridges, and cooling fans.
Add up each device’s wattage and estimate how many hours you’ll run them per day. Most standard RVs consume between 500Wh and 1500Wh of power daily, which serves as a great reference for beginners.
Step 2: Pick the Right Solar Panels
Most RV and van setups work well with solar panels ranging from 200W to 400W. You have two common options to choose from. Rigid roof-mounted panels are tough and long-lasting, perfect for permanent installation. Portable panels are more flexible; you can park your vehicle in shade and place the panels in direct sunlight to keep charging.
Since rooftop space on vans and RVs is usually limited, monocrystalline panels are the top choice. Their high efficiency lets you generate more power within a small area.
Step 3: Install a Suitable Charge Controller
For vehicle solar systems, MPPT charge controllers are always the better option. They pull far more energy from your panels compared to basic models, and perform much better on cloudy days or in partial shade, which are common scenarios during road trips. A 30A to 40A MPPT controller fits the majority of standard RV solar setups perfectly.
Step 4: Select Your Storage Battery
Lithium batteries are widely considered the best option for RV solar systems. They are lightweight, have a long service life, and support deep discharging without damage — a huge advantage over traditional lead-acid batteries. For reference, a standard 100Ah lithium battery provides around 1200Wh of usable energy for your daily needs.
Step 5: Set Up an Inverter
Batteries store DC power, but most daily electronics run on AC power, which is why an inverter is essential. A 1000W to 2000W pure sine wave inverter is ideal for vans and RVs. It can easily handle common devices like coffee makers, laptop chargers, and televisions during your travels.
Step 6: Complete the Wiring and Safety Setup
Once you have all your components ready, you can start the assembly process. Follow the standard connection order: link the solar panels to the charge controller, connect the controller to the battery, and finally wire the battery to the inverter.
Make sure to use wires with the correct gauge for each connection to avoid overload issues. Most importantly, install fuses or circuit breakers throughout the system to guarantee safe operation.
Conclusion
A well-designed solar system can help your RV or van achieve full off-grid self-sufficiency. You don’t need overly complex equipment to get started. Simply assess your daily power demands, match your components accordingly, and you’ll be able to enjoy quiet, cost-free, independent power during every road trip.
FAQ
How much solar power do I need for an RV?
Most RVs use 500-1500Wh per day, so a 200-400W panel array with a 100Ah or larger lithium battery is a solid starting point.
What charge controller should I use for an RV?
Choose an MPPT controller, ideally 30-40A. It pulls more power from your panels and performs better in shade or cloudy conditions.
Should I use rigid or portable solar panels on my van?
Rigid panels suit permanent roof mounting; portable panels let you park in shade and place them in direct sun. Many travelers use a mix of both.
Can I run a coffee maker or TV with RV solar?
Yes, with a 1000-2000W pure sine wave inverter sized for those loads.
Do I need fuses in my RV solar system?
Yes. Fuses or circuit breakers between components are essential for safe operation and protecting your equipment.