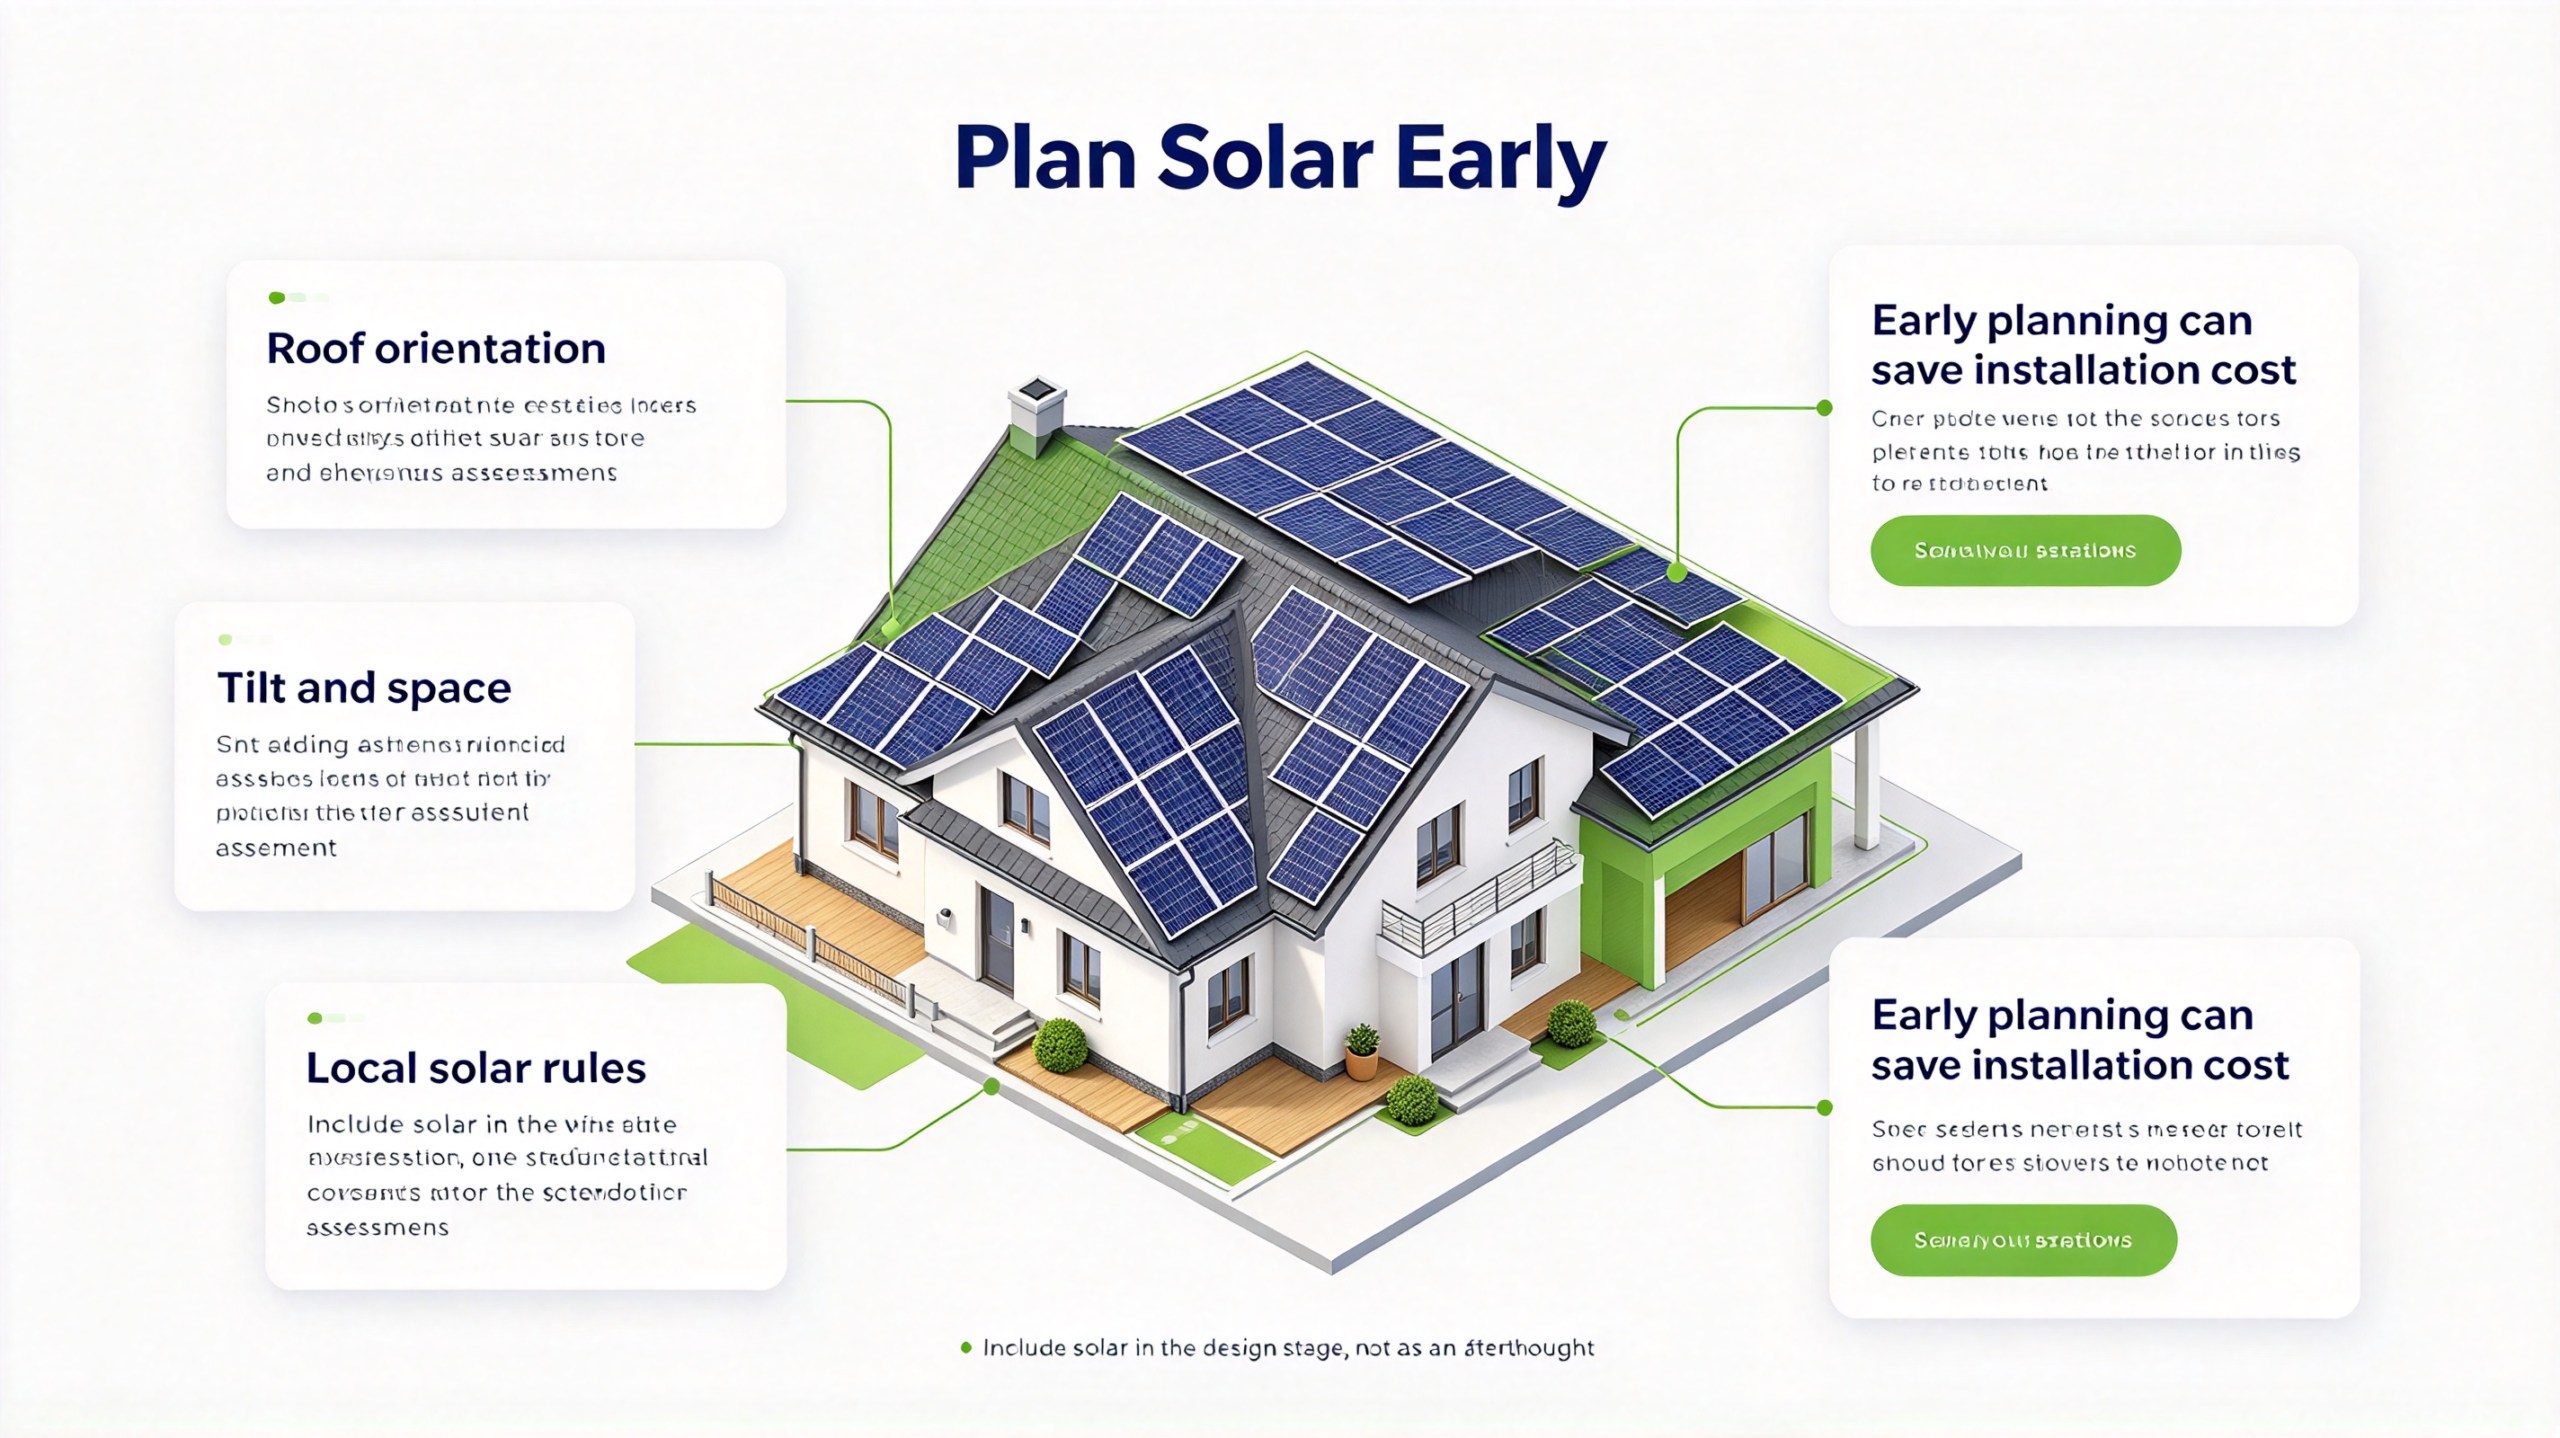
TL;DR: Planning solar for a new construction home is far cheaper than adding it later, because the three most expensive parts — roof orientation, conduit runs, and equipment location — cost almost nothing to get right during design and a lot to fix after the drywall is up. Even if you never buy a panel this year, pre-wiring during construction keeps the option open for a fraction of the cost.
Most homeowners think about solar after the house is finished, which is exactly when it becomes an expensive retrofit. New construction is the one moment when you can make solar easy without spending real money. Here are the six decisions worth locking in with your builder while the plans are still on paper.
Why Solar for a New Construction Home Costs Less Up Front
A retrofit install pays for work that a new build gets for free. Scaffolding, roof access, drilling through finished ceilings, fishing wire through insulated walls, patching drywall, repainting — none of that is needed if the wiring and blocking go in before the walls close up. Retrofit labor often adds 10-20% to a project that is otherwise identical.
There is also a financing angle. Many lenders will let you fold solar into the construction loan or the mortgage, which spreads the cost over 30 years at a far lower rate than a standalone solar loan. Ask your lender early — before the loan terms are locked — because the answer changes what you should plan for.
Decision 1: Which Way the Main Roof Plane Faces
A south-facing roof plane is the single most valuable thing you can give a future solar array in the northern hemisphere. It produces the most total energy across the year. A west-facing plane produces slightly less overall but more in the late afternoon, which is when many utilities charge their highest rates.
What you want to avoid is a design where the only large, unshaded roof area faces north. Spend an hour with your designer confirming which planes get full sun between roughly 9 a.m. and 3 p.m. This is a design choice, and it is free.
Decision 2: Keep the South Plane Clear
Solar panels need rectangular, uninterrupted space. Small roof features ruin that. Ask your builder to move the following off the sunniest plane before the plans are finalized:
- Plumbing and exhaust vents — push them to the north or side planes
- Chimneys and fireplace flues
- Dormers that cast shadows across the main roof
- Satellite dishes, antennas, and roof-mounted HVAC equipment
As a rough sizing guide, a 6 kW system needs about 300-400 square feet of usable roof, and an 8 kW system needs around 450 square feet. Check your numbers against how much roof space you need for solar before you sign off on the framing plan.
Decision 3: Make the Structure Ready
Panels and mounting hardware add roughly 3-4 pounds per square foot, which any modern roof built to code can handle. The reason to mention it to your builder anyway is that knowing the load is planned means nobody has to guess later, and no one has to reinforce anything after the fact.
If you are also planning a battery, tell the builder now. A battery is heavy, and it needs a specific spot — usually a garage wall or a conditioned utility room — plus a level, anchored mounting surface. Solar panel weight and roof capacity covers the numbers if you want to check the math yourself.
Decision 4: Run the Conduit Now — This Is the Big One
If you do only one thing, do this. Installing an empty conduit during construction costs a few hundred dollars. Fishing that same wire through a finished house costs several times more and leaves holes behind.
Ask the electrician to run:
- A 1-inch conduit from the attic under the array down to the utility area, with a pull string left inside
- A second conduit from the main electrical panel to the wall where the inverter will eventually hang
- A 240-volt circuit roughed into the garage for future EV charging — EV charger installation is a separate project, but the wiring is nearly free to add right now
Photograph the conduit path before the drywall goes up and keep the photos with your house documents. The installer who shows up in five years will thank you, and you will avoid an expensive exploratory hunt through finished walls.
Decision 5: Pick a Roof That Ages With the Panels
Panels last 25-30 years. Standard asphalt shingles last 20-25. That mismatch is the most common reason people end up paying to remove and reinstall a perfectly good array. If solar is in your plans, choose a longer-lived roof:
- Standing seam metal: the best match. Panels clamp on with no roof penetrations at all, and the roof outlives the array.
- Tile or slate: long-lived, but heavier and more expensive to mount on. Worth it if you like the look.
- Asphalt shingle: acceptable, but only if it is brand new and installed at the same time as the panels.
If you are choosing between a mid-grade shingle now and a premium roof in five years, and solar is part of the plan, the roof is worth doing once. See ground-mounted versus roof-mounted solar if you would rather keep the roof out of it entirely.
Decision 6: Leave Room in the Electrical Panel
Ask for a 200-amp service if the house does not already have one, and ask the electrician to leave:
- Two spare breaker slots in the main panel
- About three feet of clear, shaded wall next to the panel for the inverter
- An exterior spot for the AC disconnect, required by code in most areas
None of this adds meaningful cost to a new build. All of it is annoying and expensive to create later.
Install the Panels Now, or Just Prepare?
Both are reasonable, and the answer depends on how long you plan to stay:
- Install now: cheapest possible moment to add panels, and you start saving from day one. The tradeoff is buying 25-year hardware a few years before you might need it.
- Pre-wire only: a few hundred dollars instead of tens of thousands, and the future install becomes a one-day job. The tradeoff is that you pay retail labor later.
A middle path works well: pre-wire during construction, install panels when you have the cash or when electric rates climb enough to justify it. The house is ready either way.
FAQ
Can you add solar to a new construction home later?
Yes, and it is much easier if the builder ran conduit and left panel space. With pre-wiring in place, adding panels later is usually a one-day install instead of a multi-day retrofit.
Does a new home need a 200-amp panel for solar?
Not strictly, but it is strongly recommended. A 200-amp service leaves room for solar, a battery, and EV charging without a service upgrade down the road.
Which roof type is best for solar?
Standing seam metal, because panels clamp on without any roof penetrations and the roof typically outlives the array. A new asphalt shingle roof installed at the same time as the panels is a solid second choice.
Should I install solar during construction or wait?
If you plan to stay long term and the numbers work, install during construction — it is the cheapest install you will ever get. If you are unsure, at minimum pre-wire so the decision stays cheap.
Can solar be included in a construction loan?
Often yes. Many lenders allow solar to be rolled into a new-build mortgage or construction loan. Confirm the details with your lender before the loan terms are finalized.
Related
Next up: Solar Panel Installation Process: What to Expect Step by Step